Keeping track of your past Google searches can be incredibly useful—whether you’re trying to recall an article you read, find a website you visited, or just want to manage your digital footprint. In this guide, I’ll walk you through how to view and manage your Google Search history step-by-step.
✅ You can follow this guide on any browser—Chrome, Safari, Edge, or Firefox. The steps work the same!
🧭 Step 1: Go to Google My Activity
Start by opening a new browser tab and typing this into the address bar:
🔗 https://myactivity.google.com
This is Google’s activity dashboard where you can see a full record of your interactions across Google products—Search, Maps, YouTube, and more.
🔍 Step 2: Select “Web & App Activity”
Once you’re logged in to your Google account, look for the section that says “Web & App Activity” under “My Google Activity.” Click into that area to continue.
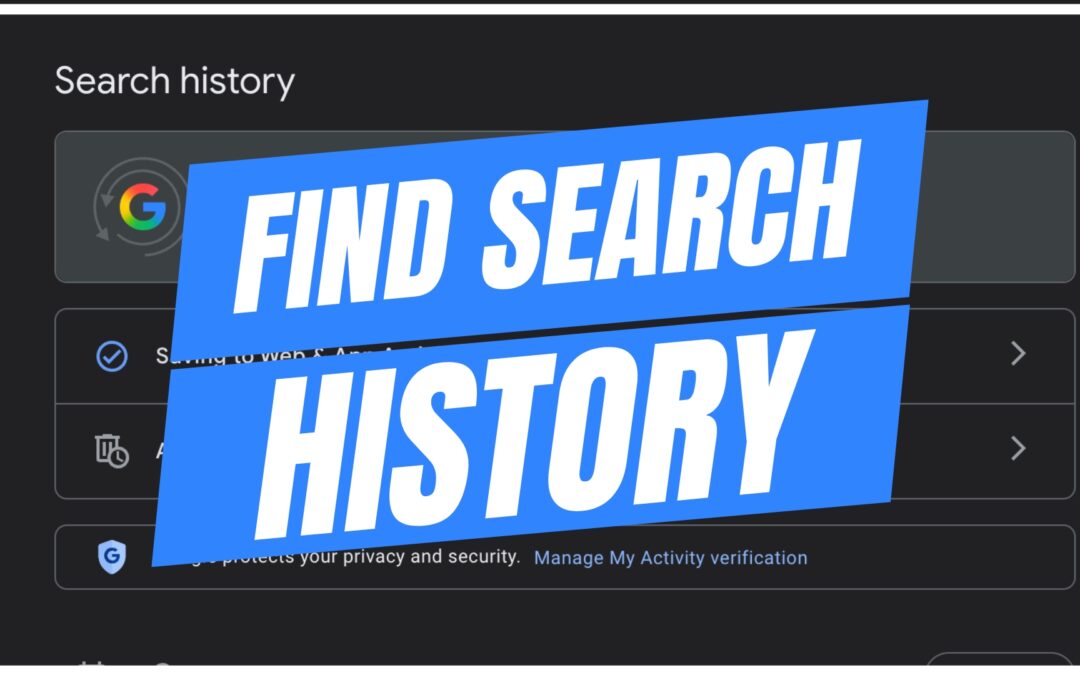
📜 Step 3: View Your Search Activity
From there, locate the section labeled Search (it’ll have the Google “G” logo next to it). Click into it.
You’ll now see a list of all your recent Google Search history—organized by date. You can scroll down to see searches from earlier today, previous days, and even weeks or months back depending on your settings.
🗑️ Step 4: Delete Search History (Optional)
Want to clear some or all of your history? You’ve got options:
-
Delete today’s history
-
Delete a custom date range
-
Delete all-time search history
-
Or enable Auto-delete so Google clears it for you automatically after a set time period.
Just click the “Delete” dropdown menu at the top of your activity and make your selection.
⚙️ Extra Tip: Turn On Auto-Delete
If you’d like to automate your privacy, consider turning on Auto-delete. This feature will clear your search history after a preset interval—such as 3 months, 18 months, or 36 months.
💬 Final Thoughts
That’s it! You now know how to find, view, and manage your Google Search history. Whether you’re keeping tabs on your browsing habits or just tidying things up for privacy, this dashboard gives you total control.
If you found this guide helpful, be sure to check out more tech tutorials right here or on my YouTube channel.
Got questions? Drop them in the comments below or reach out via email.

