Resetting an Apple AirTag might sound tricky, but it’s actually super simple. Whether you’re preparing to give it to someone else, troubleshooting an issue, or just starting fresh, this quick guide walks you through two different methods — using your iPhone or manually resetting the AirTag itself.
🔁 Method 1: Reset Your AirTag Using Your iPhone
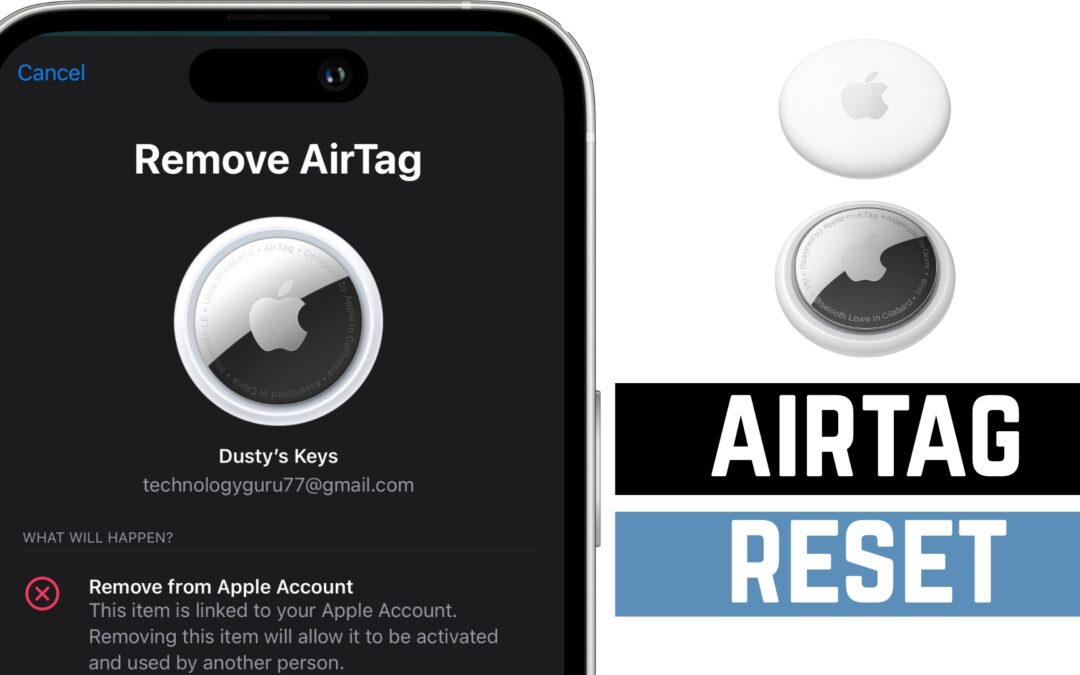
If your AirTag is still connected to your Apple ID, you’ll need to remove it through the Find My app:
-
Open the Find My App on your iPhone.
-
Tap on the Items tab at the bottom.
-
Select the AirTag you want to reset (e.g., your keys or wallet).
-
Scroll to the bottom and tap Remove Item.
-
Confirm by tapping the red text that says Remove again.
-
Once removed, the AirTag is unlinked from your Apple account and ready for setup.
⚠️ You must do this step before giving the AirTag to someone else or resetting it manually.
🔋 Method 2: Reset Your AirTag Manually (No iPhone Required)
If you don’t have access to your iPhone or just want to reset the AirTag directly, here’s how:
-
Flip your AirTag over so the Apple logo is facing up.
-
Press down gently and twist counterclockwise to remove the stainless steel back cover.
-
Remove the battery.
-
Now for the magic reset:
-
Insert the battery and wait for a chime.
-
Remove and reinsert it four more times, for a total of five insertions.
-
On the fifth time, you’ll hear a different, longer chime — this means it’s been reset.
-
-
Replace the cover by aligning the tabs, pressing down, and twisting clockwise to lock it back in place.
Your AirTag is now factory reset and ready to be paired with a new Apple ID.
🧠 Pro Tip
Always remove the AirTag from your Apple ID before doing the manual reset. Otherwise, it will stay linked to your iCloud account and won’t pair properly with another device.

