If you’re new to video editing and looking for a free, professional-grade tool — look no further than DaVinci Resolve. In this complete beginner’s guide, I’ll walk you through everything you need to know to get started, even if you’ve never edited a video before in your life.
Whether you’re a YouTuber, a content creator, or just someone looking to dabble in video production, DaVinci Resolve is one of the most powerful — and FREE — editing platforms out there. Let’s break it down step by step.
📥 Downloading DaVinci Resolve
Before we jump into editing, you’ll need to grab the software.
👉 Download DaVinci Resolve (Free)
https://www.blackmagicdesign.com/products/davinciresolve
Blackmagic Design offers both a free version and a Studio version (paid). The free version includes nearly all of the features you’ll need, especially if you’re just starting out.
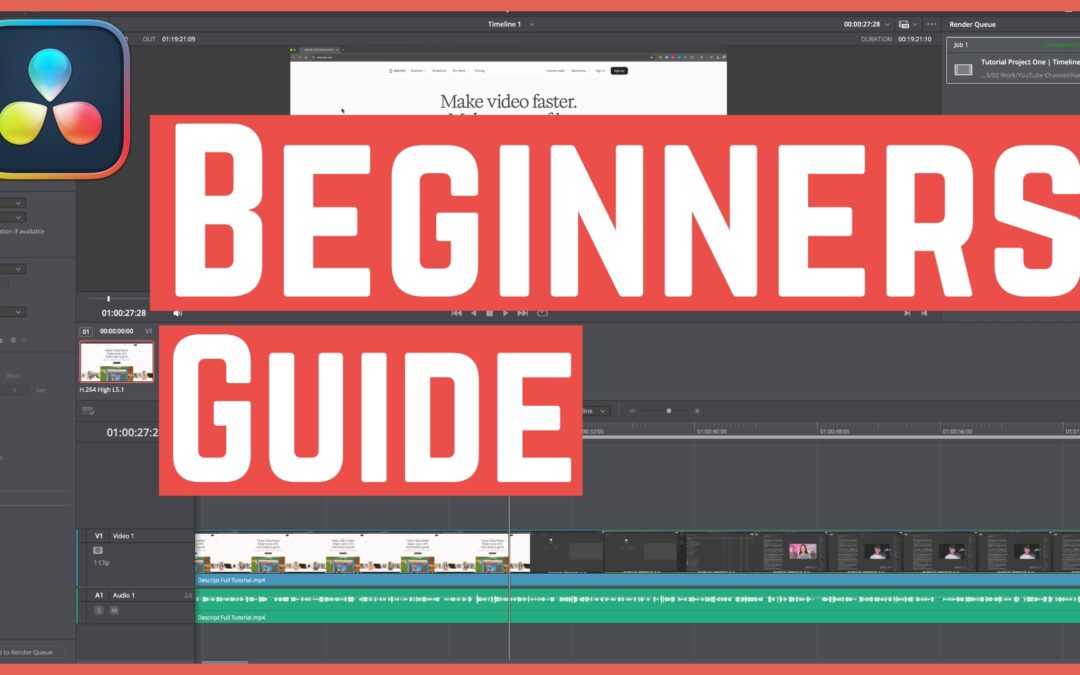
🧭 Navigating the Interface
When you open DaVinci Resolve, it may seem overwhelming at first, but here’s a quick breakdown of what you’re looking at:
• Media – Where you import and manage your video clips
• Cut – A simplified editing timeline for quick cuts
• Edit – The full-featured timeline with all editing tools
• Fusion – For advanced motion graphics and effects
• Color – Pro-level color grading tools
• Fairlight – Audio mixing and enhancements
• Deliver – Where you export your final project
As a beginner, you’ll mostly use Media, Edit, and Deliver.
🎞️ Basic Editing Workflow
Here’s a simple flow for editing your first video in DaVinci Resolve:
1. Import Your Media – Drag your video clips into the media pool
2. Start Editing – Use the Edit tab to cut, trim, and arrange clips on the timeline
3. Add Transitions & Titles – Use the Effects Library to add basic transitions and drag in title templates
4. Adjust Audio – Clean up and balance your audio levels in the Fairlight tab
5. Apply Basic Color Corrections – Use the Color tab for exposure and color balance tweaks
6. Export Your Project – Head to the Deliver tab and use the YouTube preset for easy exporting
✂️ Tips for First-Time Editors
• Use Keyboard Shortcuts like “B” for blade and “A” for selection to speed up editing
• Always keep your voice audio higher than your background music
• Don’t get lost in advanced features — master the basics first
• Save your project often! Resolve has autosave, but better safe than sorry
• Export in H.264 at 1080p for the best balance between quality and file size
🎓 Learn By Watching
📺 Watch the Full Video Tutorial:
In this step-by-step walkthrough, I show you exactly how to:
• Edit your first video from scratch
• Add titles, transitions, and effects
• Adjust color and sound
• Export the final product for YouTube or social media
🛠 Why Choose DaVinci Resolve?
There are many free editing tools out there, but few match Resolve’s combination of professional features, ease of use, and zero cost. It’s used by YouTubers, indie filmmakers, and even Hollywood editors.
Plus, you’re learning on a platform that can grow with you as your skills improve.
💬 Final Thoughts
If you’re feeling overwhelmed, don’t worry — that’s completely normal when starting something new. The key is to just start. Play around, make a few practice edits, and build your confidence step by step.
Let me know in the comments of the video or on social if you have any questions — I’m here to help!
📥 Subscribe to my weekly newsletter for behind-the-scenes tips and creator insights:

